


Getting started.
Before we start digging, let's talk about why I become a graphql fanboy. I know you might be wondering why graphql is somewhat popular.
GraphQL allows you to describe data that your client app needs from your API.
Graphql gives your Client the power to exactly ask for what it needs without any unnecessary payload or data, unlike traditional REST where unnecessary fields which the client might not necessarily need are added to the payload.
Now with that out of the way, let's dig in!!.
What will we build
In this blog, we will be learning how to build a graphql backend API using data from the famous HBO show Game of Thrones. After this, we will be building a client-side to consume the API in another tutorial.
Prerequistes.
This tutorial assumes the following:
You are familiar with Nodejs/Javascript/ES6.
You are familiar with the graphql spec or have an interest in building a graphql backend API.
System requirements.
Cloning the starter app.
Now with the boring stuff away, let's have fun!!!
First clone the git respository
git clone https://github.com/PeterKwesiAnsah/GOTGQLAPI.git
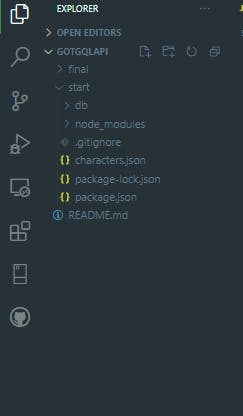
The repository contains two top-level directories: start and final. During the tutorial, you'll edit the files at the start, and at the end, they'll match the completed app in the final. If you are interested, in the final server API, you can visit it here.
After cloning, your file structure should look like this without the node_modules folder
Dependencies Installation
First run
cd start.Install the dependencies needed by running
npm installin your terminal.Now let's install our core top-level dependencies: Apollo Server and Graphql.
npm install apollo-server graphql
Defining Our Type Data Schema.
Let's start by creating a typeDefs.js file in our current working directory start. In this file, we will define the structure of data needed for our client-side and also define what our client can ask for.
Our client app is interested in the name, date of birth, appearances, the name of the actor who played the character, the photo of the character, and whether the character was killed or stayed alive at the end of the show. These interests become the fields of our type Character.
We also want our client app to be able to perform the following operations.
Fetch all character's data.
Fetch a specific character by a unique ID.
Fetch a random character.
Fetch and filter characters based on a character name.
Always design your data schema to suit the specific needs of your client app.
Now Open the typeDefs.js file and copy and paste the below code in it.
import graphql from 'apollo-server';
const { gql } = graphql;

//creating  type Definations for the server
const typeDefs = gql`

 enum Status {
        ALIVE
        DECEASED
    }
        type Character {
            id: Int!
            name: String!
            birthDate: String!
            appearances: String!
            status: Status!
            potrayedBy: String!
            photoUrl: String!
        }
    type Query {
        getCharacters: [Character!]
        getCharacterById(characterID: Int!): Character
        getRandomCharacter: Character!
        searchCharByName(queryString: String!): [Character]
    }
`;

export default typeDefs;
Defining our Resolvers
Basically, Resolvers tell the apollo server how to get the data for the types we defined in typeDefs.js. We can't get data if we don't know where is coming from. In this tutorial for the sake of simplicity, our source of data is provided by lowdb, a small JSON database.
Let's take note of the APIs created to expose data from our small JSON database.
model.getAll: Returns all data from the database.
model.findById: Takes in a unique ID and returns the object with such ID.
model.filter: Takes in a query string and returns object/s that satisfies it.
Now with that out of the way, let's create and satisfy our resolvers.
Create a file named resolvers.js and copy and paste the below Code.
//importing our characters data model
import model from './db/index.js';

//creating resolvers
const resolvers = {
    Query: {
        getCharacters: () => model.getAll(),
        getCharacterById: (_, { characterID }) => {
            return model.findById(characterID);
        },
        getRandomCharacter: () => {
            //get random IDs between 1 and 26
            const randomID = Math.floor(Math.random() * 26 + 1);

            return model.findById(randomID);
        },
        searchCharByName: (_, { queryString }) => model.filter(queryString),
    },
};

//exporting resolvers
export default resolvers;
Creating Our Server.
Now that we have created our data schema and resolvers to satisfy it, let's use them to initialize the Apollo Server.
Create a server.js file, this file will contain our server instance code. Now copy and paste the code below in it.
import apolloServer from 'apollo-server';
import typeDefs from './typeDefs.js';
import resolvers from './resolvers.js';

const { ApolloServer } = apolloServer;

//initializing the Apollo server with our data schema and resolver.
const server = new ApolloServer({
    typeDefs,
    resolvers,
});

//launch server
server.listen().then(({ url }) => {
    console.log(`🚀 Server ready at ${url}`);
});
Launch Our Server
Now let's fire up our server!!
From our working current directory, run the following:
node server.js
You should see the following output:
🚀 Server ready at http://localhost:4000/
Running our first Query.
Now with our Graphql server running, we can write queries against it.
To run queries, visit http://localhost:4000/ in your favorite browser to launch the Graphql playground.
Graphql playground is a tool that allows you to run graphql operations just as you would in a graphql client application.
Now let's run a query that gets a character with ID : 5 and request the name and potrayedBy fields of the character. (Graphql will provide us with exactly what we asked for, and that's one of graphql's superpowers).
Copy the following query string and paste it in the left pane.
{
  getCharacterById(characterID:5){
    name
    potrayedBy
  }
}
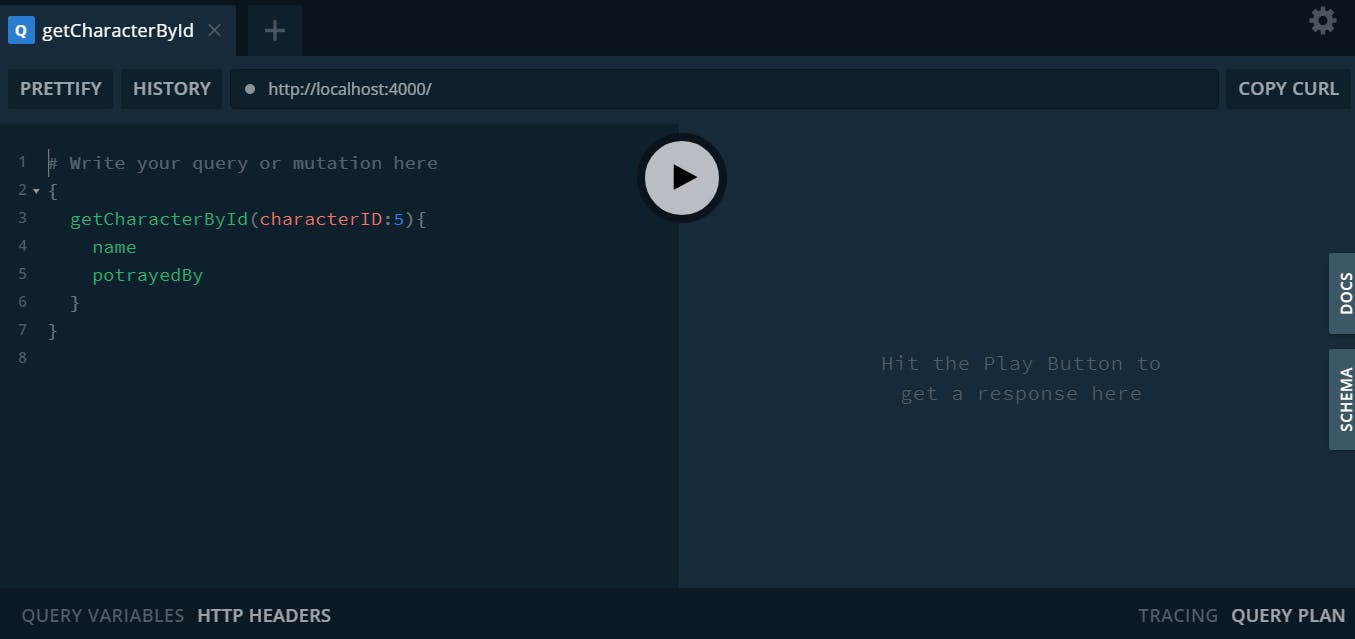
Now let's run the query by clicking on the play button. The results should be the following:
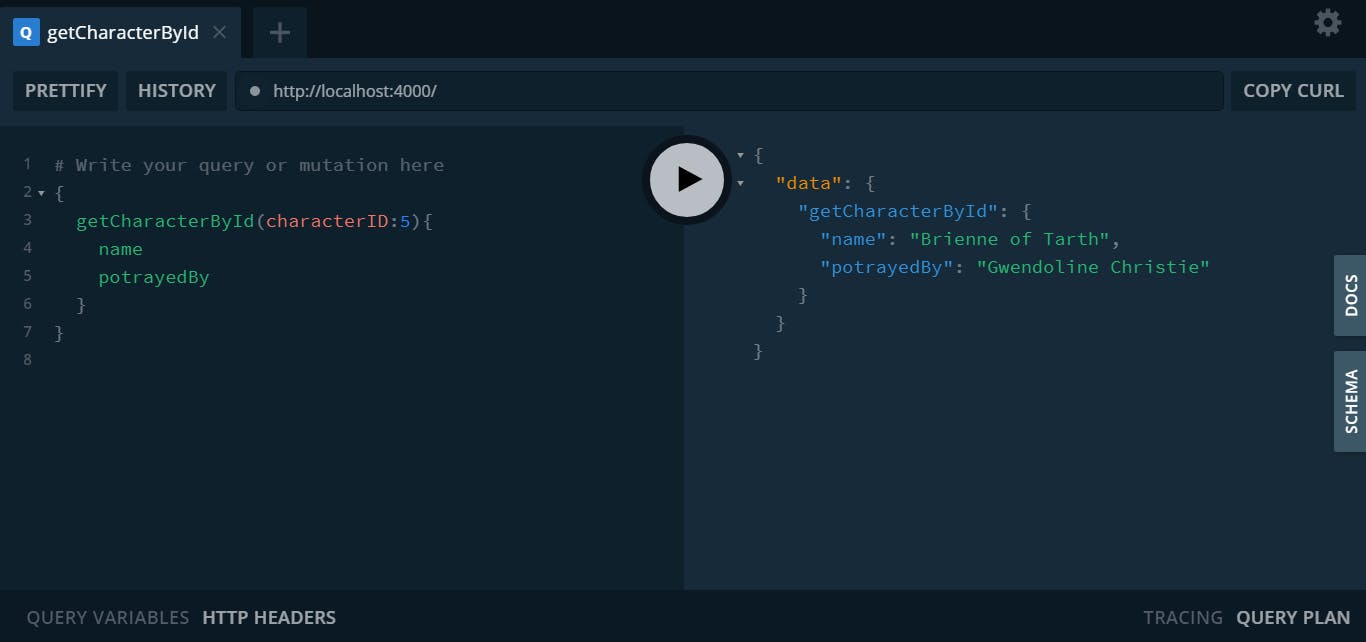
Notice how only the name and potrayedBy fields came with the payload.
Wraping Up
Now we have a cool fully functional graphql backend API.if you are learning Graphql, you can try building something fun with the API.
I hope this piece of information was useful. Please leave your questions and feedback in the comments section.Drop in the comment section any fun client app we can build to consume data from the API. See ya!!🥳🥳🥳🥳🥳.